
We here bring to you our Mexican day of the dead bread. We had originally written the recipe for this pan de muerto almost 6 years ago. Now we revisit it, update it, and improve it. Because it is one of our favorite recipes, for what it represents, and for how good it looks.
Jump to Recipe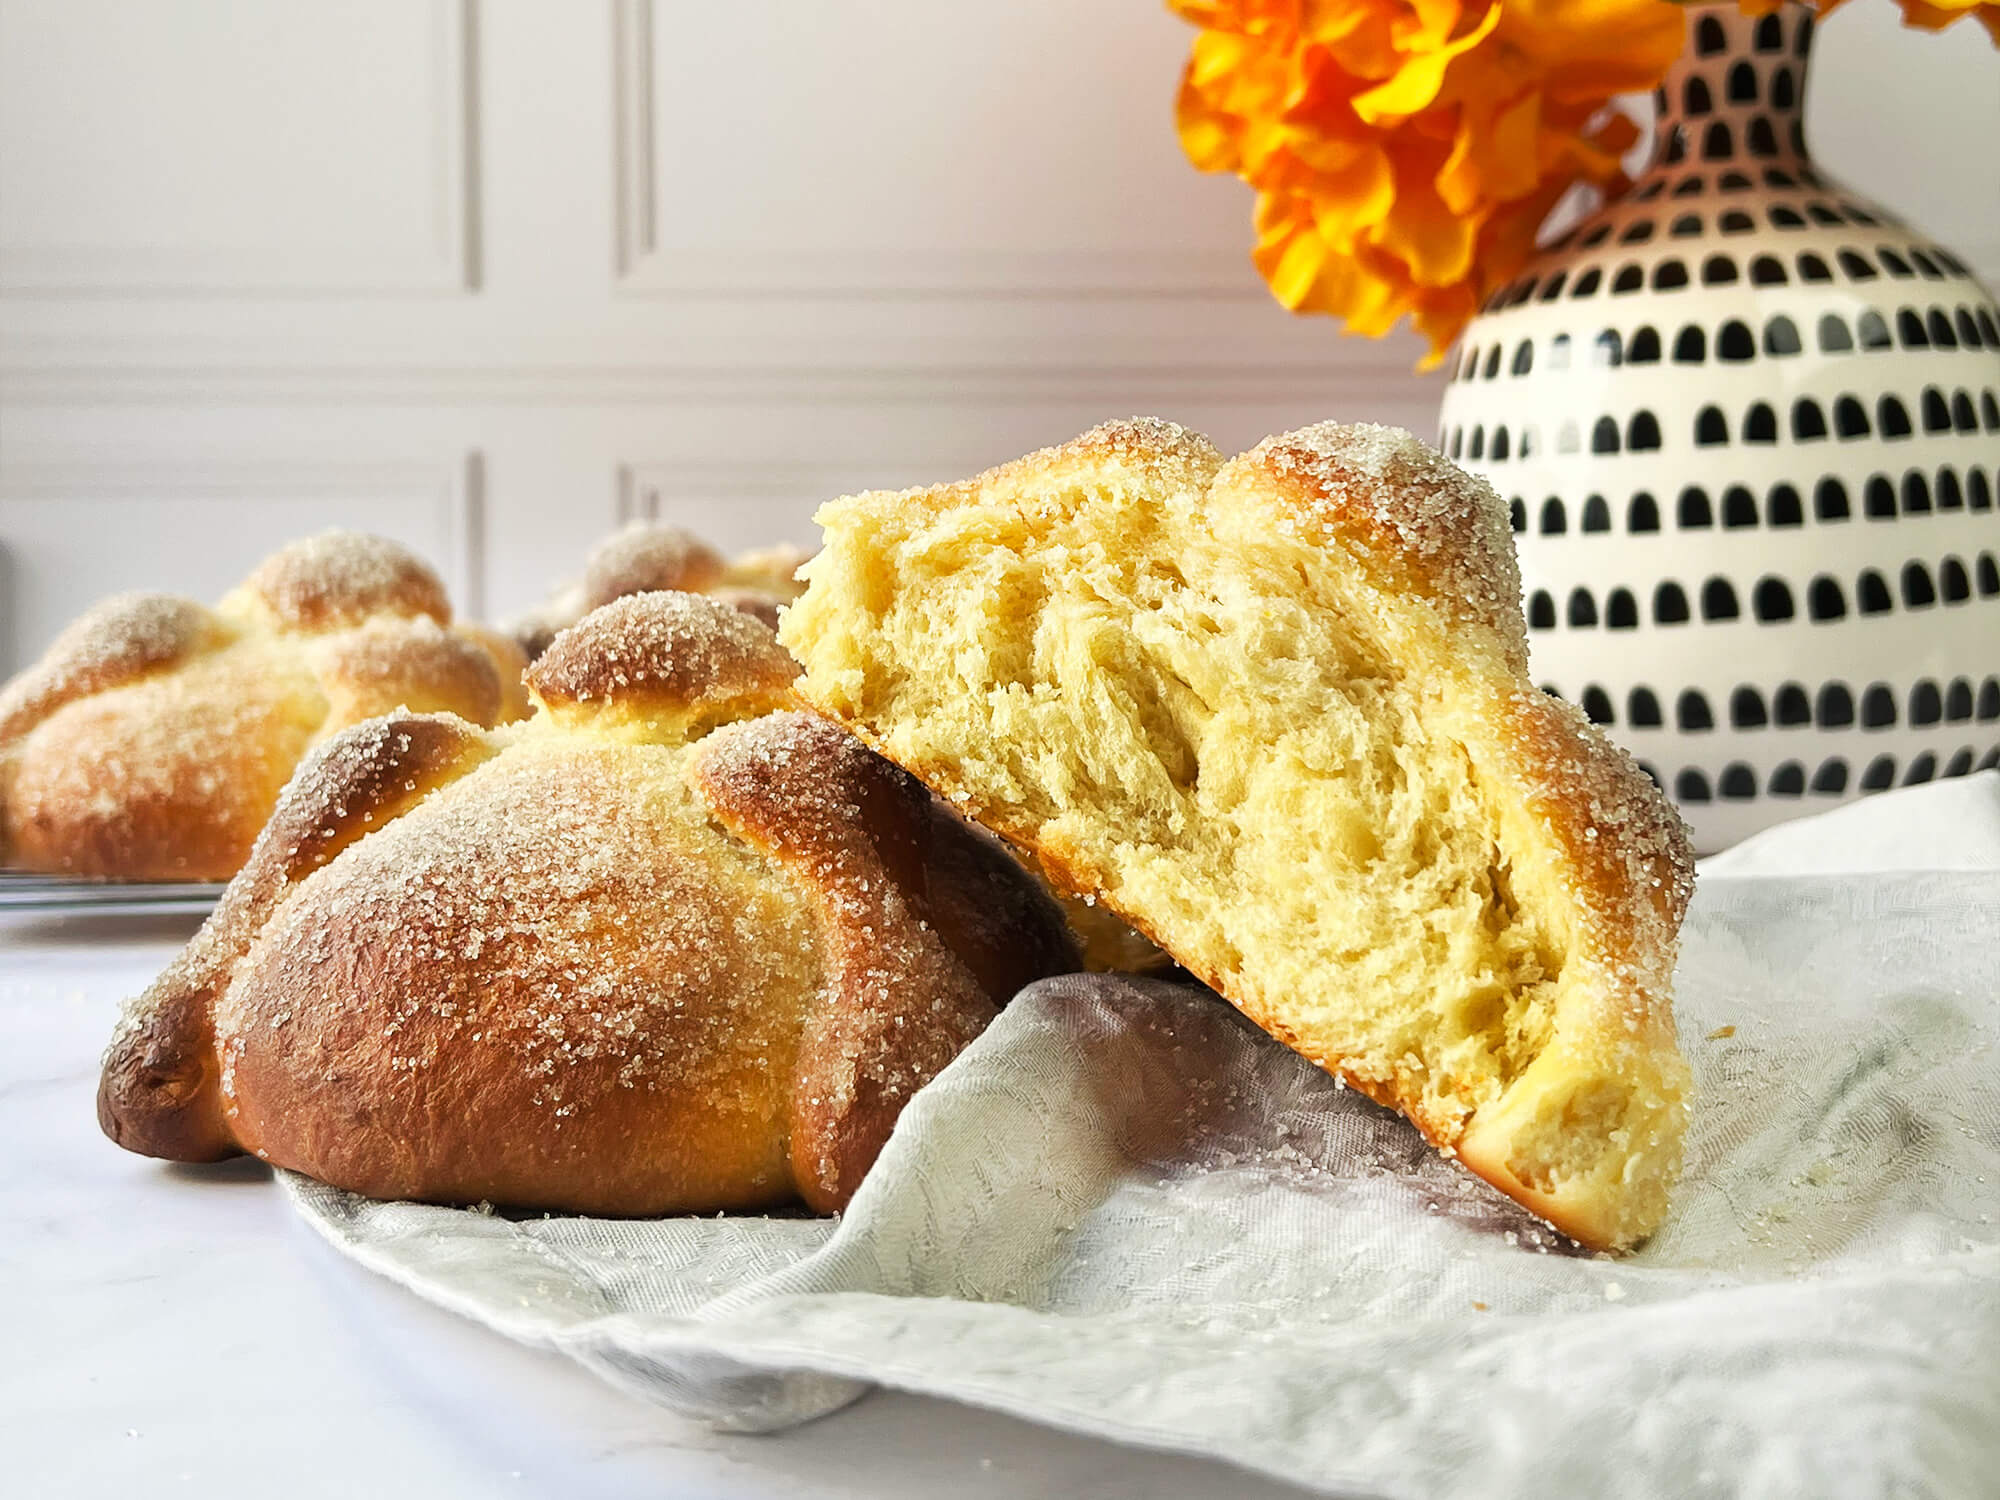
Every year, on November 2, Mexico celebrates the Day of the Dead, a traditional celebration of Mesoamerican origin that honors the dead. The altar of the dead is a fundamental element in this celebration, so it must be made in a very specific way. Each piece has its purpose and meaning. One of the most important and representative elements of the altar is precisely the bread of the dead.
Since pre-Hispanic times this bread was prepared, although it could not be called this way because it was not even edible; it was made with ground and toasted amaranth and bathed with the blood of humans who were sacrificed in honor of the gods Izcoxauhqui or Huehuetéotl. Later, with the arrival of the Spaniards, bread began to be made with wheat flour that was painted red and bathed with sugar.
Today’s celebration of the Day of the Dead is a mixture of pagan and Catholic traditions.
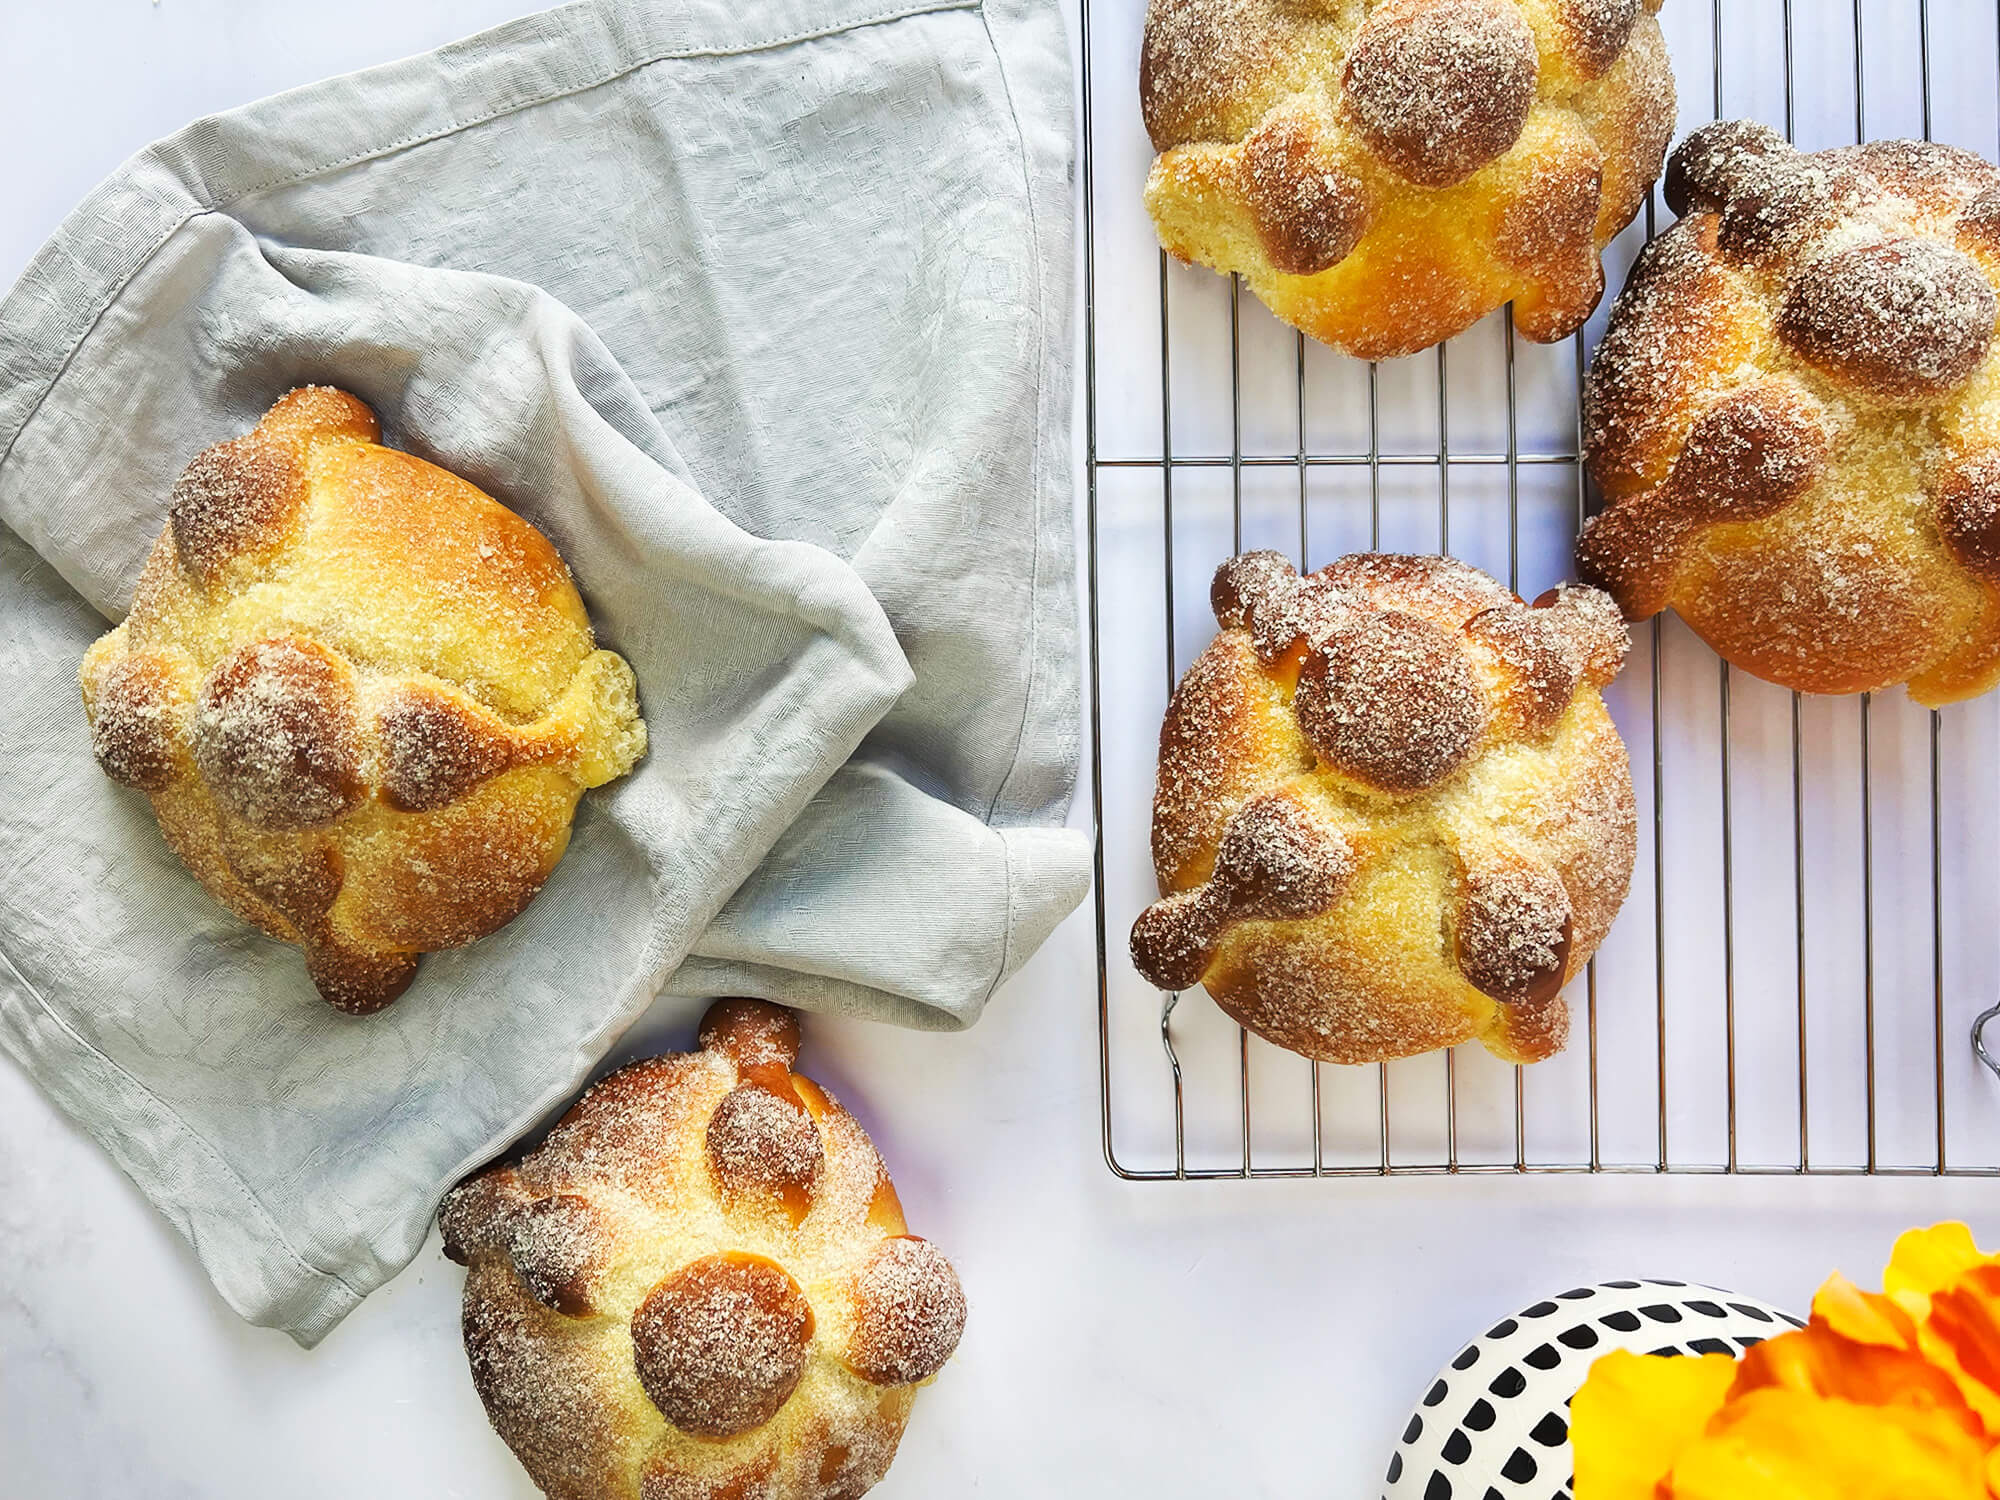
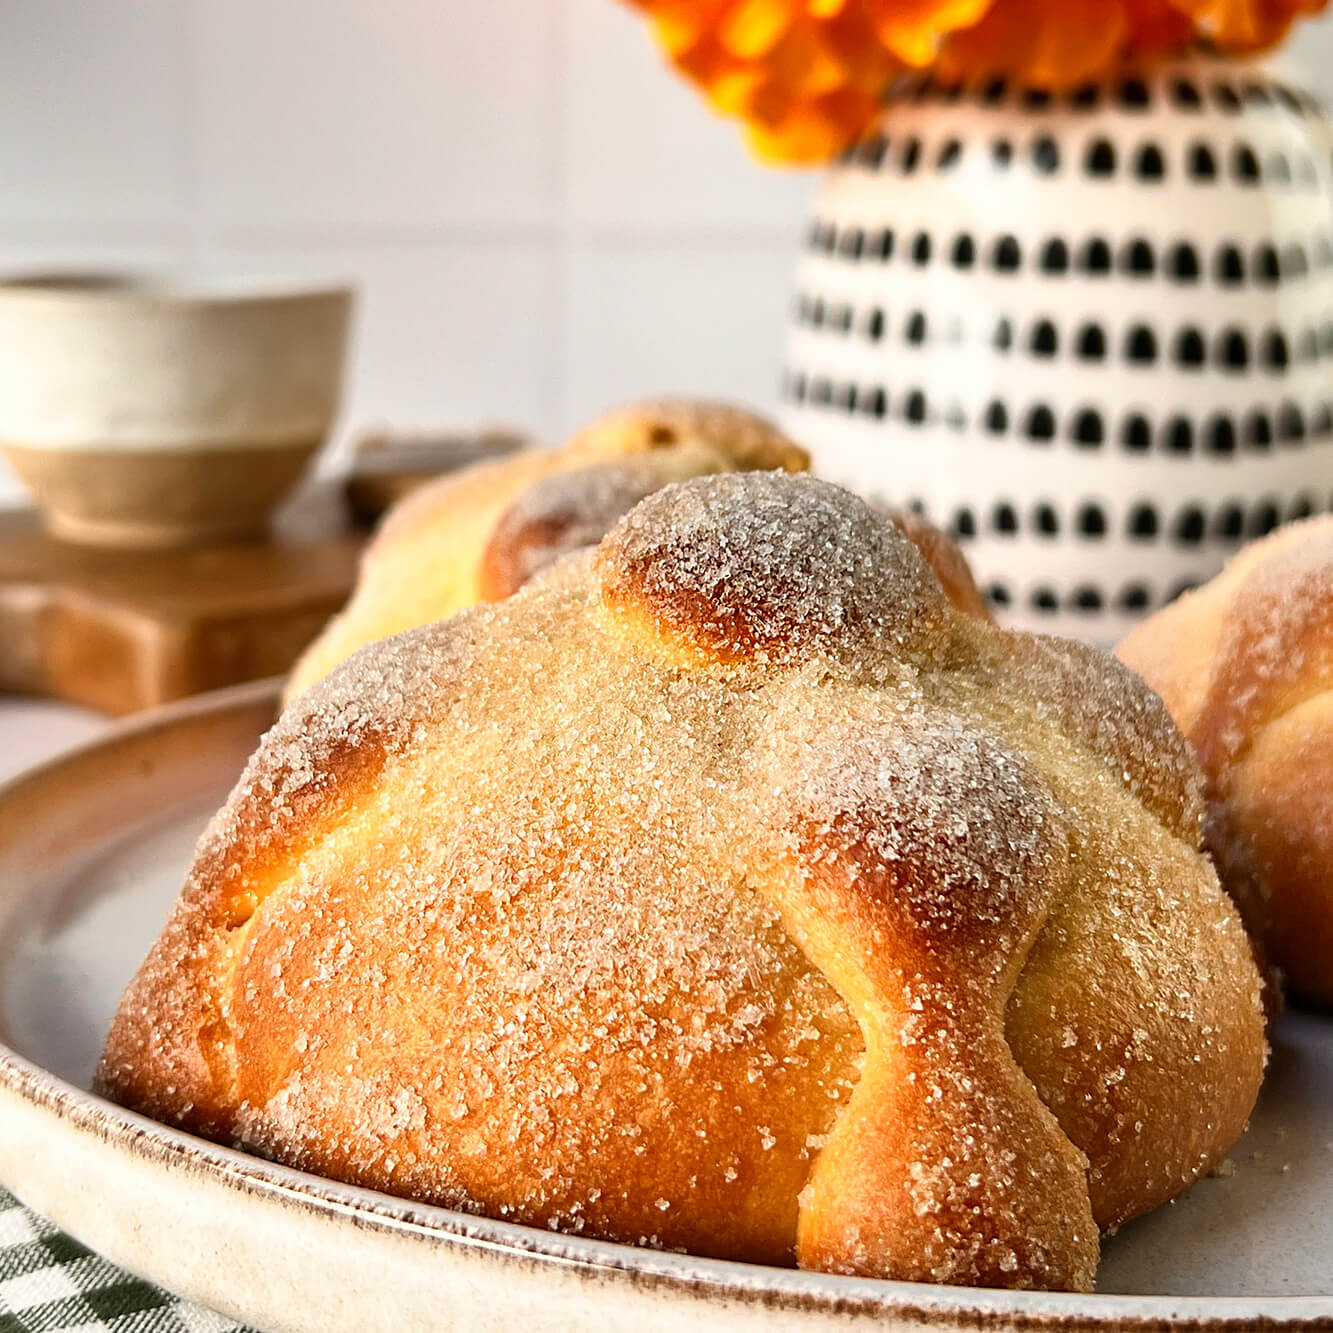
Over the years, the bread of the dead was modified until it reached the one we know today, which still retains its ancestral meaning; the little ball at the top of it is the skull, the four shins are the bones of the body that point to the directions of the universe and the orange blossom flavor is for the memory of the deceased.

How to make authentic pan de muerto?
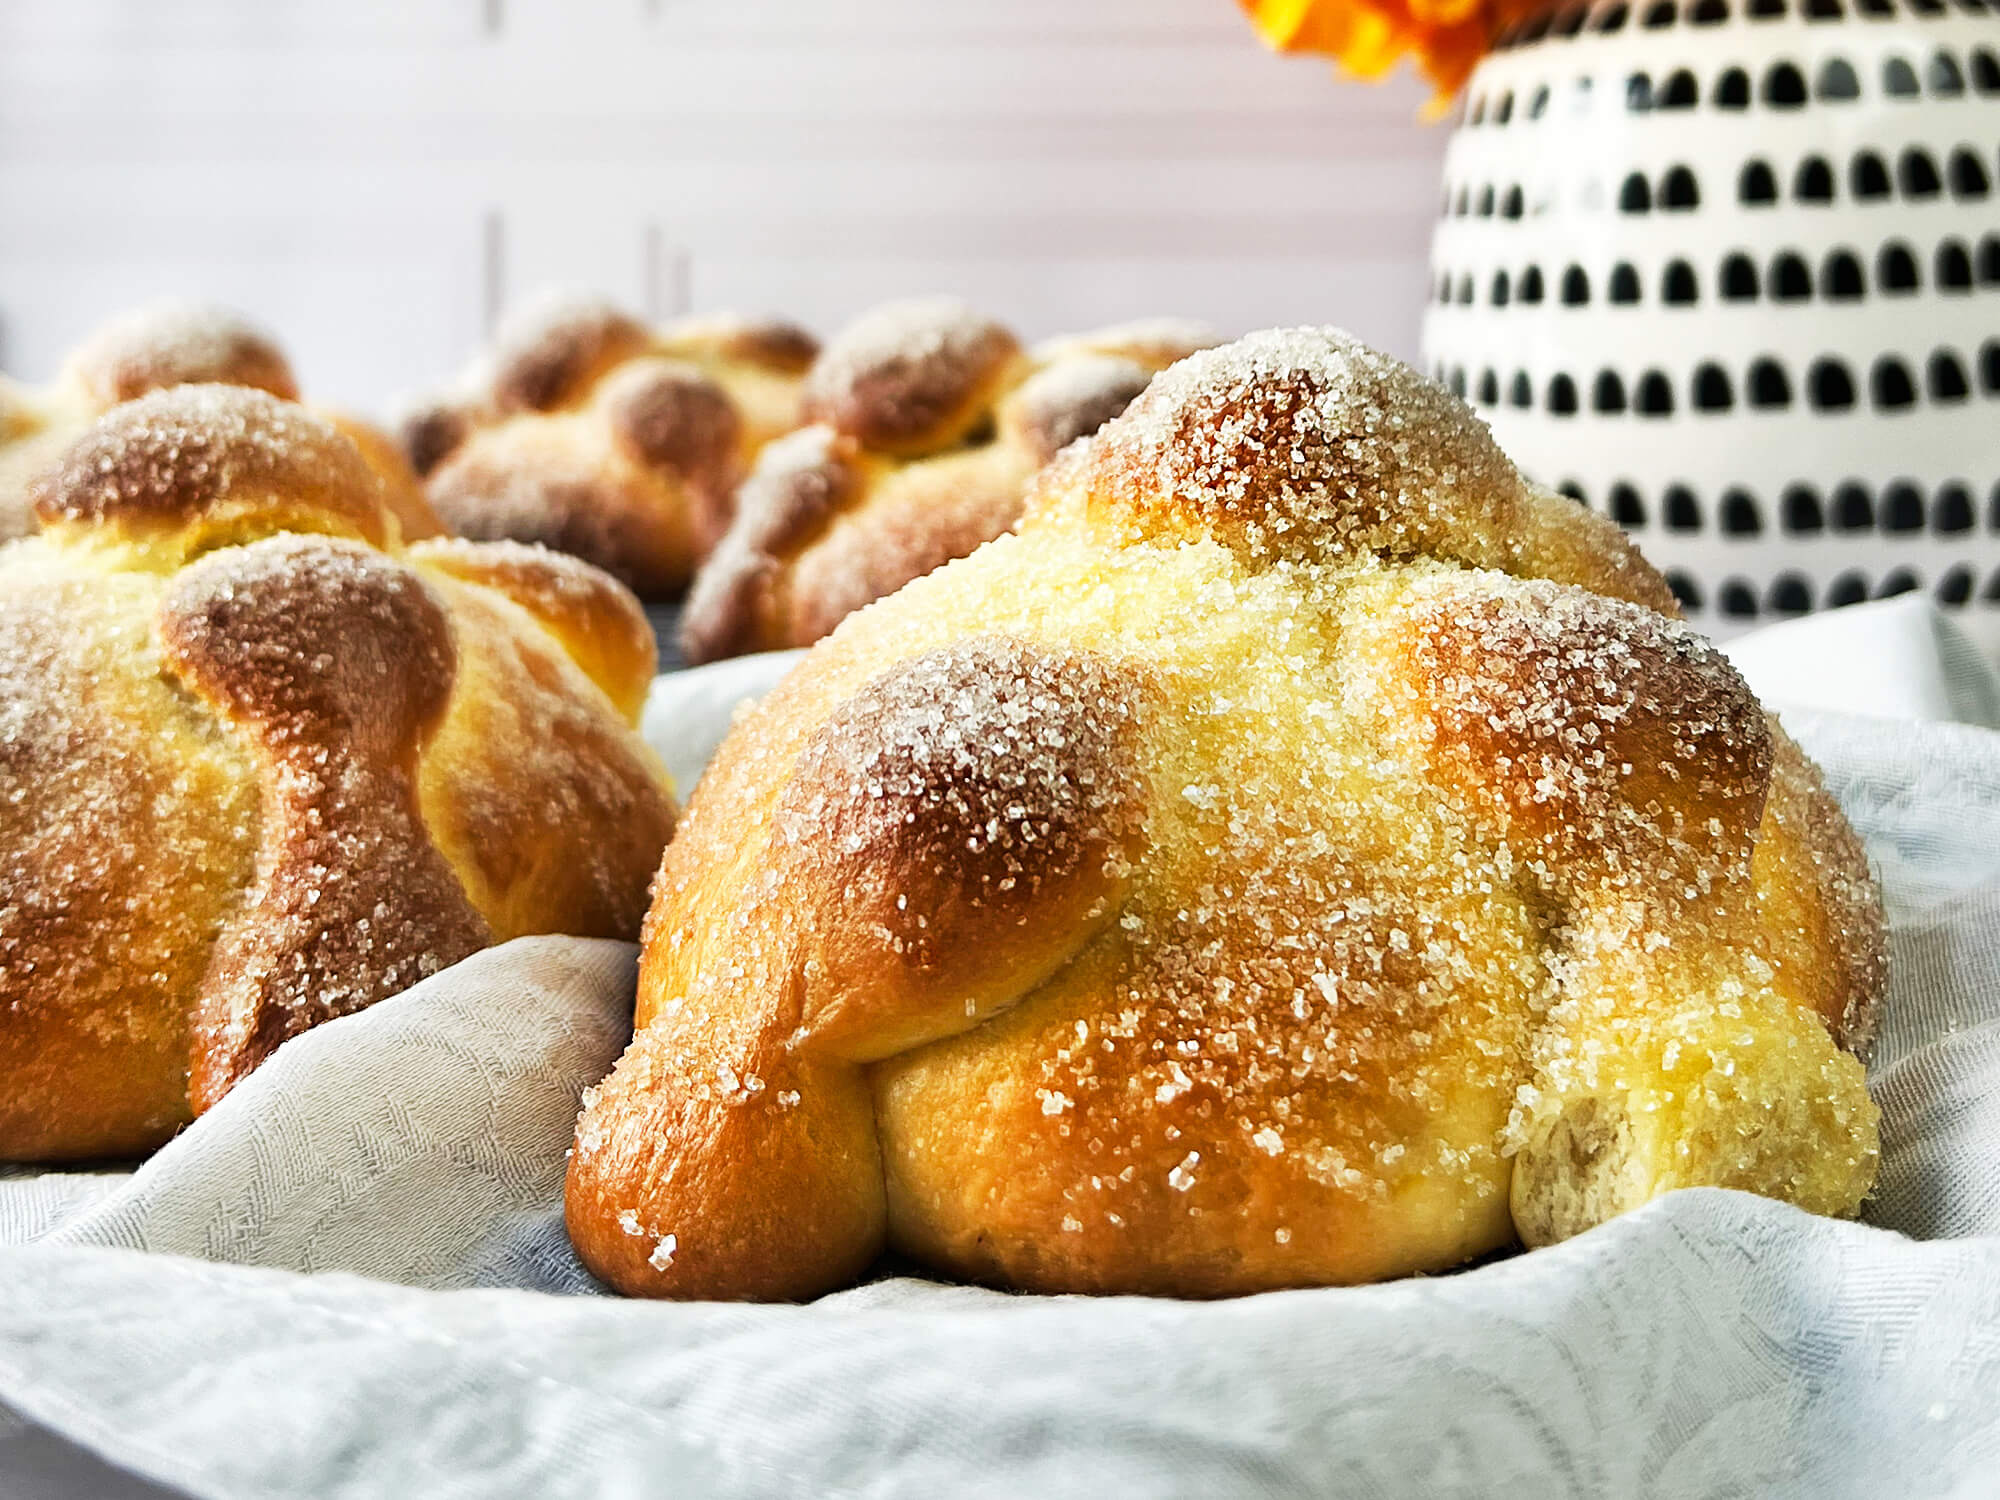
It is a recipe, as with many breads, a little more difficult than others. And is that the breads need a lot of love and work, especially when kneading, to make them as they should be. The result of this recipe is impressive. These breads are aromatic, soft and fluffy. And best of all, they remind us all of Mexico.
Eating pan de muertos on that day, along with all the other traditions, is a beautiful thing. The altars, the sugar skulls, the decorations, painting your face like a skull, and seeing flowers and candles everywhere.
For me, the typical pan de muerto must have a very noticeable orange flavor. If there is one thing we know, it is that all breads have a very similar base of ingredients, so it is precisely those little touches of flavor that, although it may not seem like it, make the difference; that and having a good kneading technique or a good mixer.
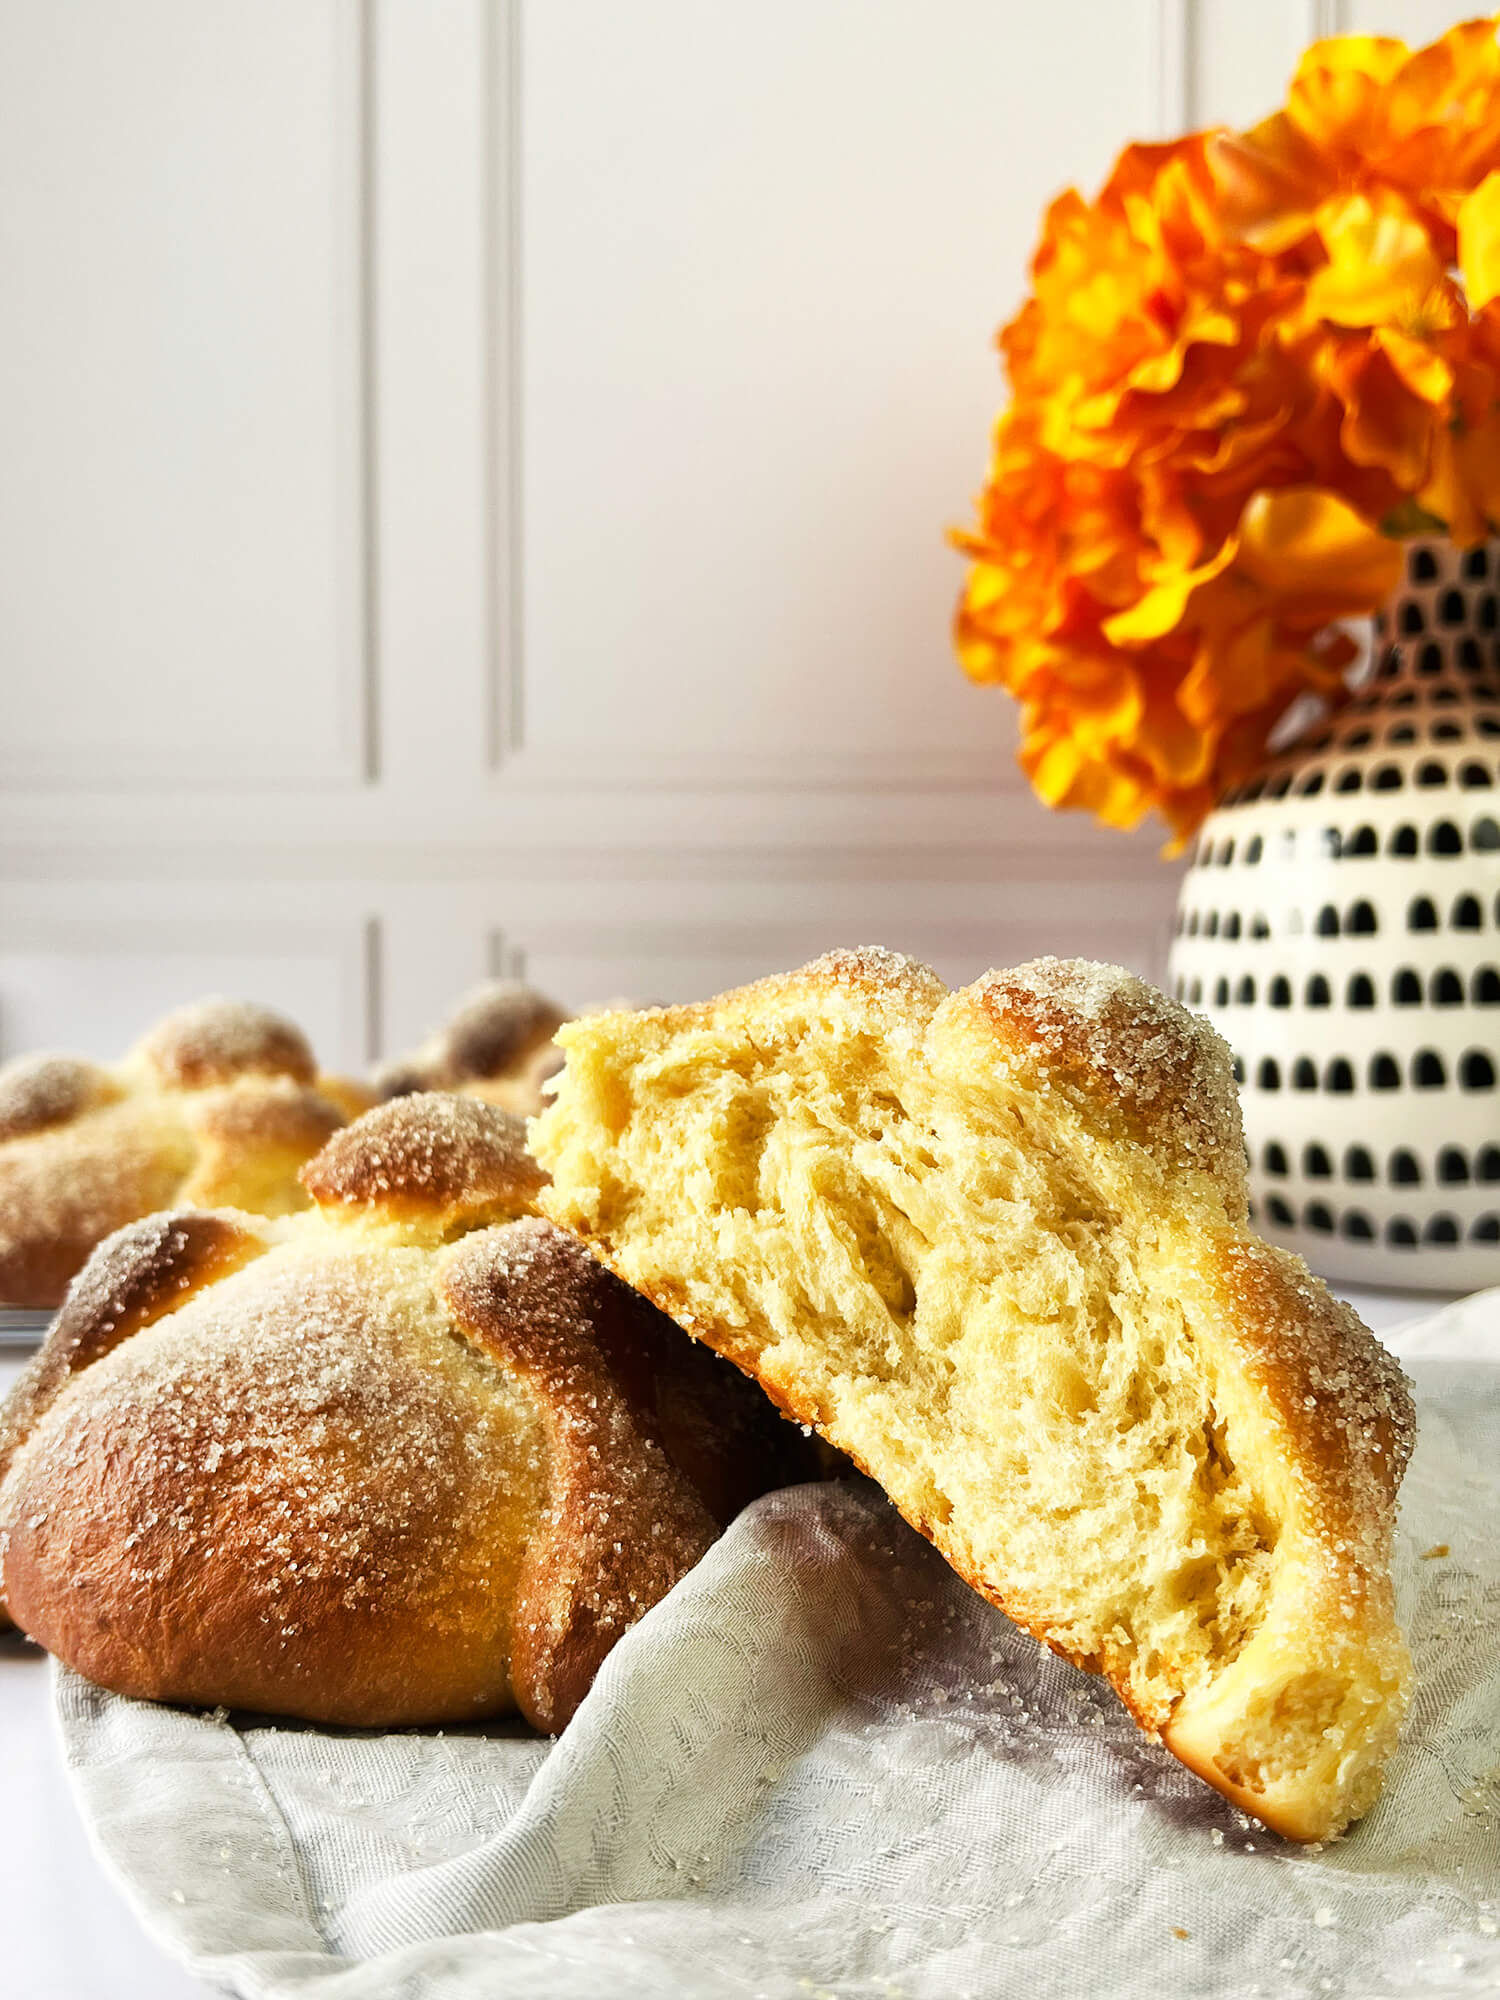
As you will see in the recipe, the kneading of this bread is key to achieve the softness and fluffiness that characterize it. If you notice in the photos, the bread looks like a cloud because of how soft it is. If you like this traditional pan de muerto recipe, you have to check out our pineapple tamales recipe.
Ingredients
Method
- In a medium bowl place the warm milk with the yeast and mix with a spoon until well blended. Let it sit for 10 minutes for the yeast to activate.
- Freeze balls of about 3 tablespoons of each filling you want to use.
- Separately, on a clean counter place the flour with the sugar and salt and mix. Make a hole in the center to add the eggs, yolks and the yeast mixture. Also add the orange juice and zest, vanilla extract and orange blossom extract.
- Integrate with your hands from the center to the edges to form a dough. Knead by beating and folding on itself for 10 minutes until the dough better forms.
- Stretch the dough a little with your hands and add the butter (which should be soft) in the center. Fold in the edges of the dough so that the butter stays in the center.
- Knead again but this time for 15 minutes. The dough will feel very sticky but it is important not to add more flour and to knead it by beating it against the counter and folding it over itself, using a dough scraper to help the dough come off (the whole kneading process can also be done in a mixer with the dough hook on).
- Coat the dough with a little vegetable oil, place it in a bowl and cover it with plastic wrap and a kitchen towel. Let it rest in a slightly warm place for 2 hours until it doubles in size.
- Once the dough has doubled in size, place it on the counter and cut a quarter of it to form the top of the breads.
- Divide the remaining dough into 6-8 pieces and shape each into a circle. Roll out each ball and place a small ball of frozen filling in the center. Cover the filling with the dough, pinching a little at a time to wrap it all up. Place each filled dumpling on a large baking sheet lined with baking paper.
- From the reserved dough, cut a piece that will be used to make the balls that will go on top of each bread. Cut the rest of the dough into 12 or 16 small pieces to make the bones (each bread needs two strips of bones). Form strips with each piece by moving the three middle fingers of the hand over the strip in such a way that it becomes thicker in the areas between the fingers. Simulating bones.
- Place two strips of bones on each loaf, forming crosses. Then, divide the dough reserved for the balls into 6-8 pieces, shape them round and place them on top of each bread.
- Cover the breads with plastic wrap and let them rest for 1 hour and a half until they double in size. Preheat the oven to 356° F (180º C) 15 minutes before the end of the 2 hours of resting time.
- Once the loaves have doubled in size, bake them at 356° F (180º C) for exactly 20 minutes.
- Once the breads are ready, let them rest for 10 minutes. Then, brush each one with a little melted butter and quickly sprinkle with sugar. Let them cool down completely before eating them.
Tried this recipe?
Let us know how it was!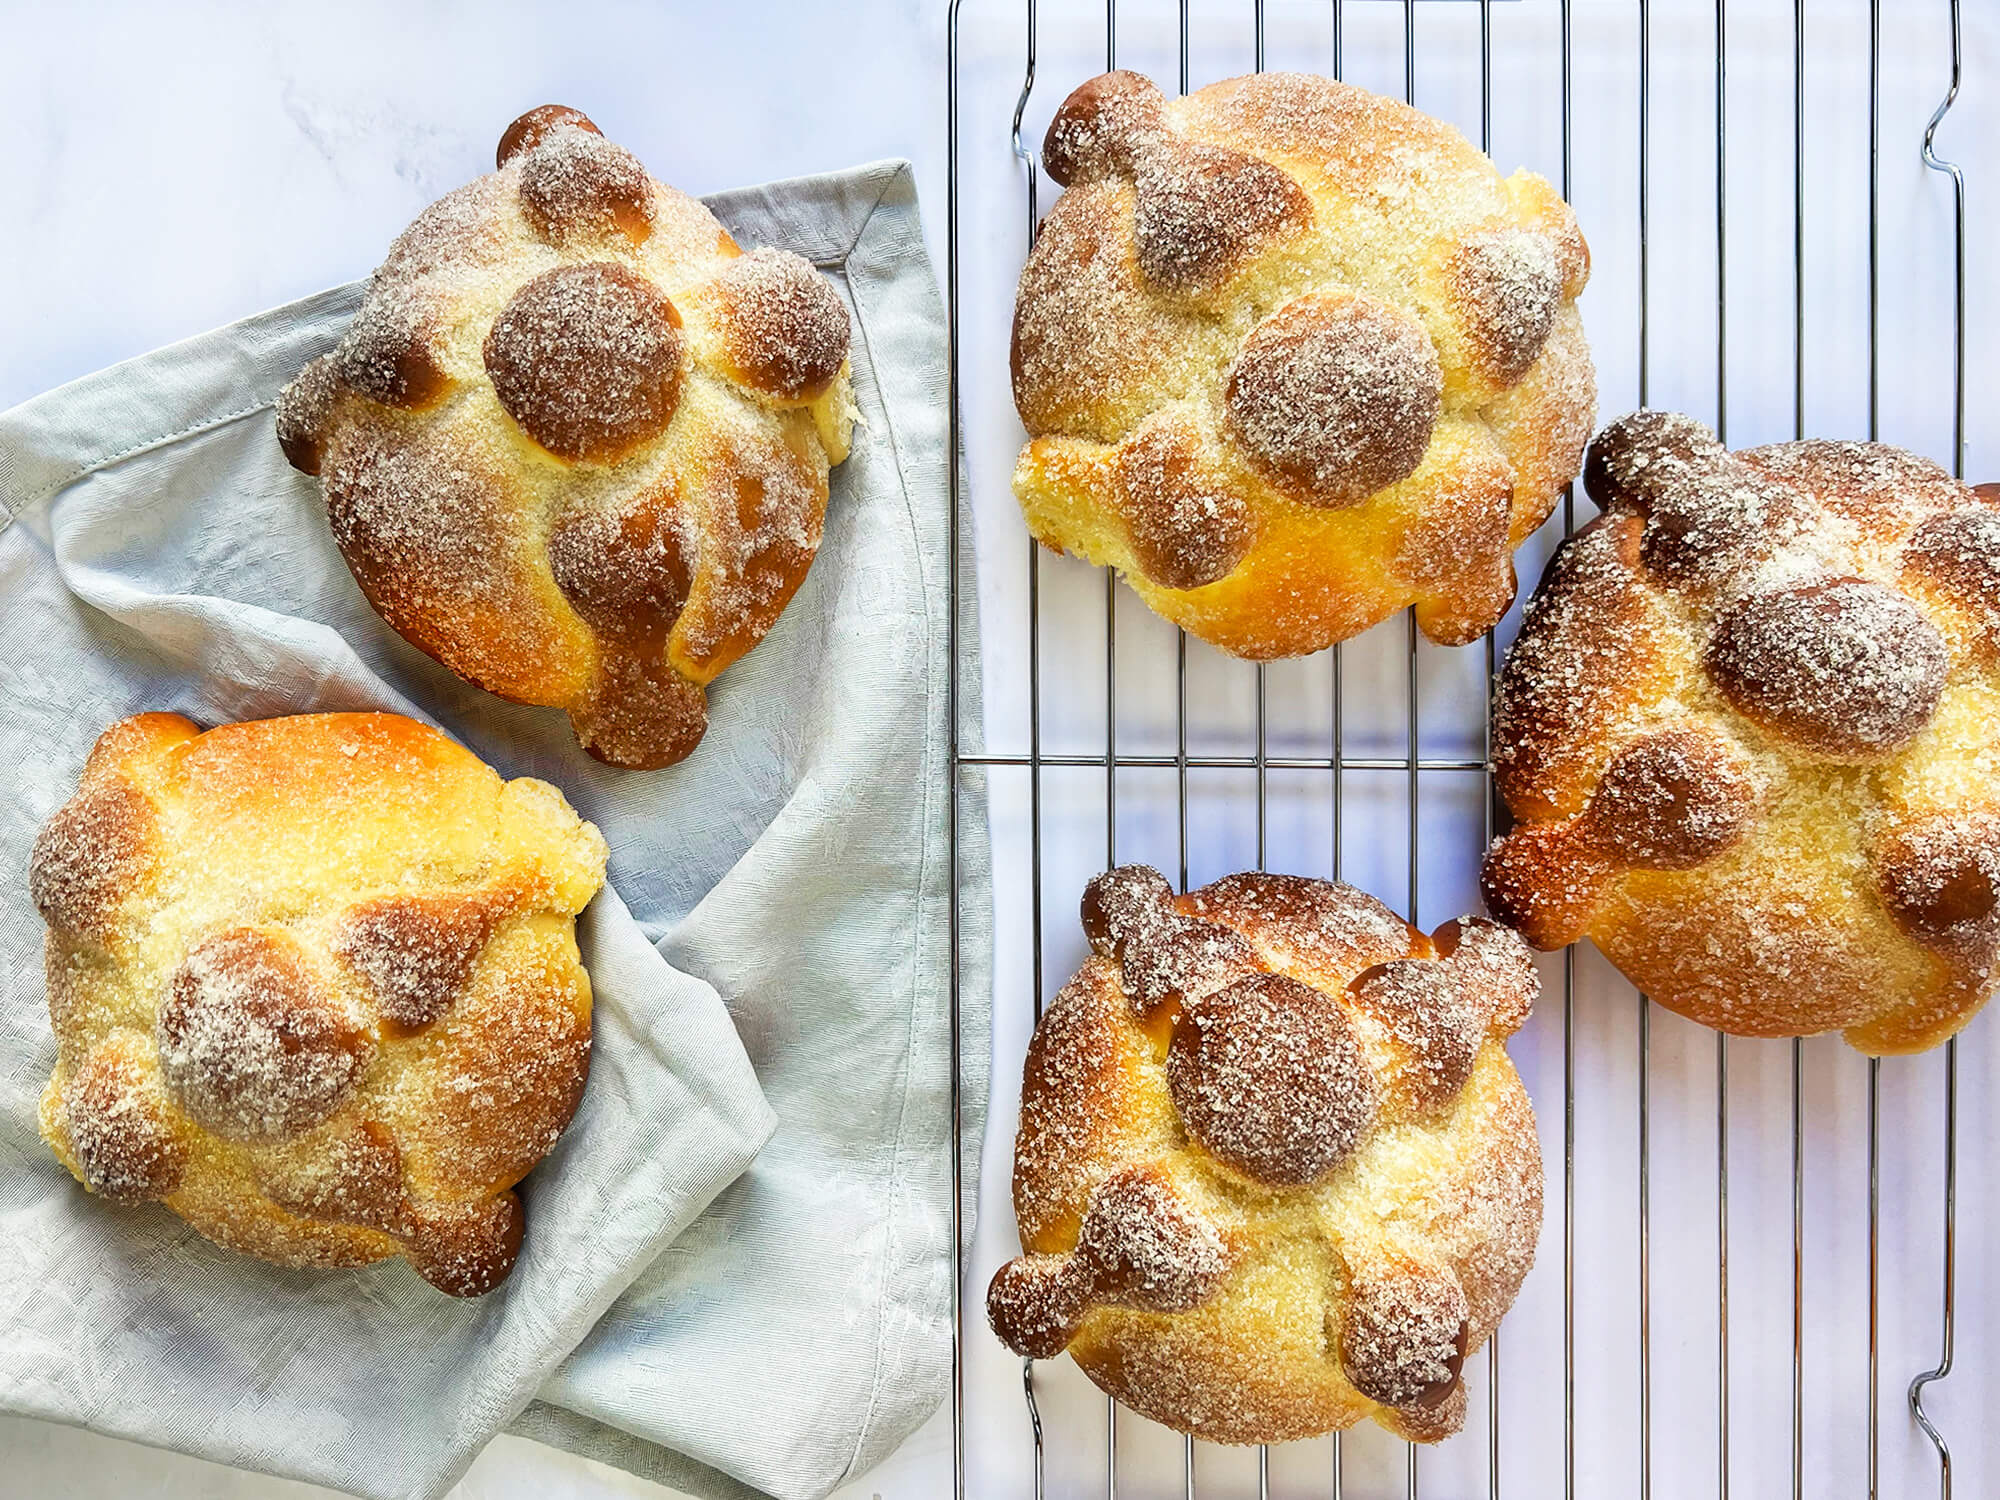

Leave a Reply